
4
servings2-3
hours24-36
hours35
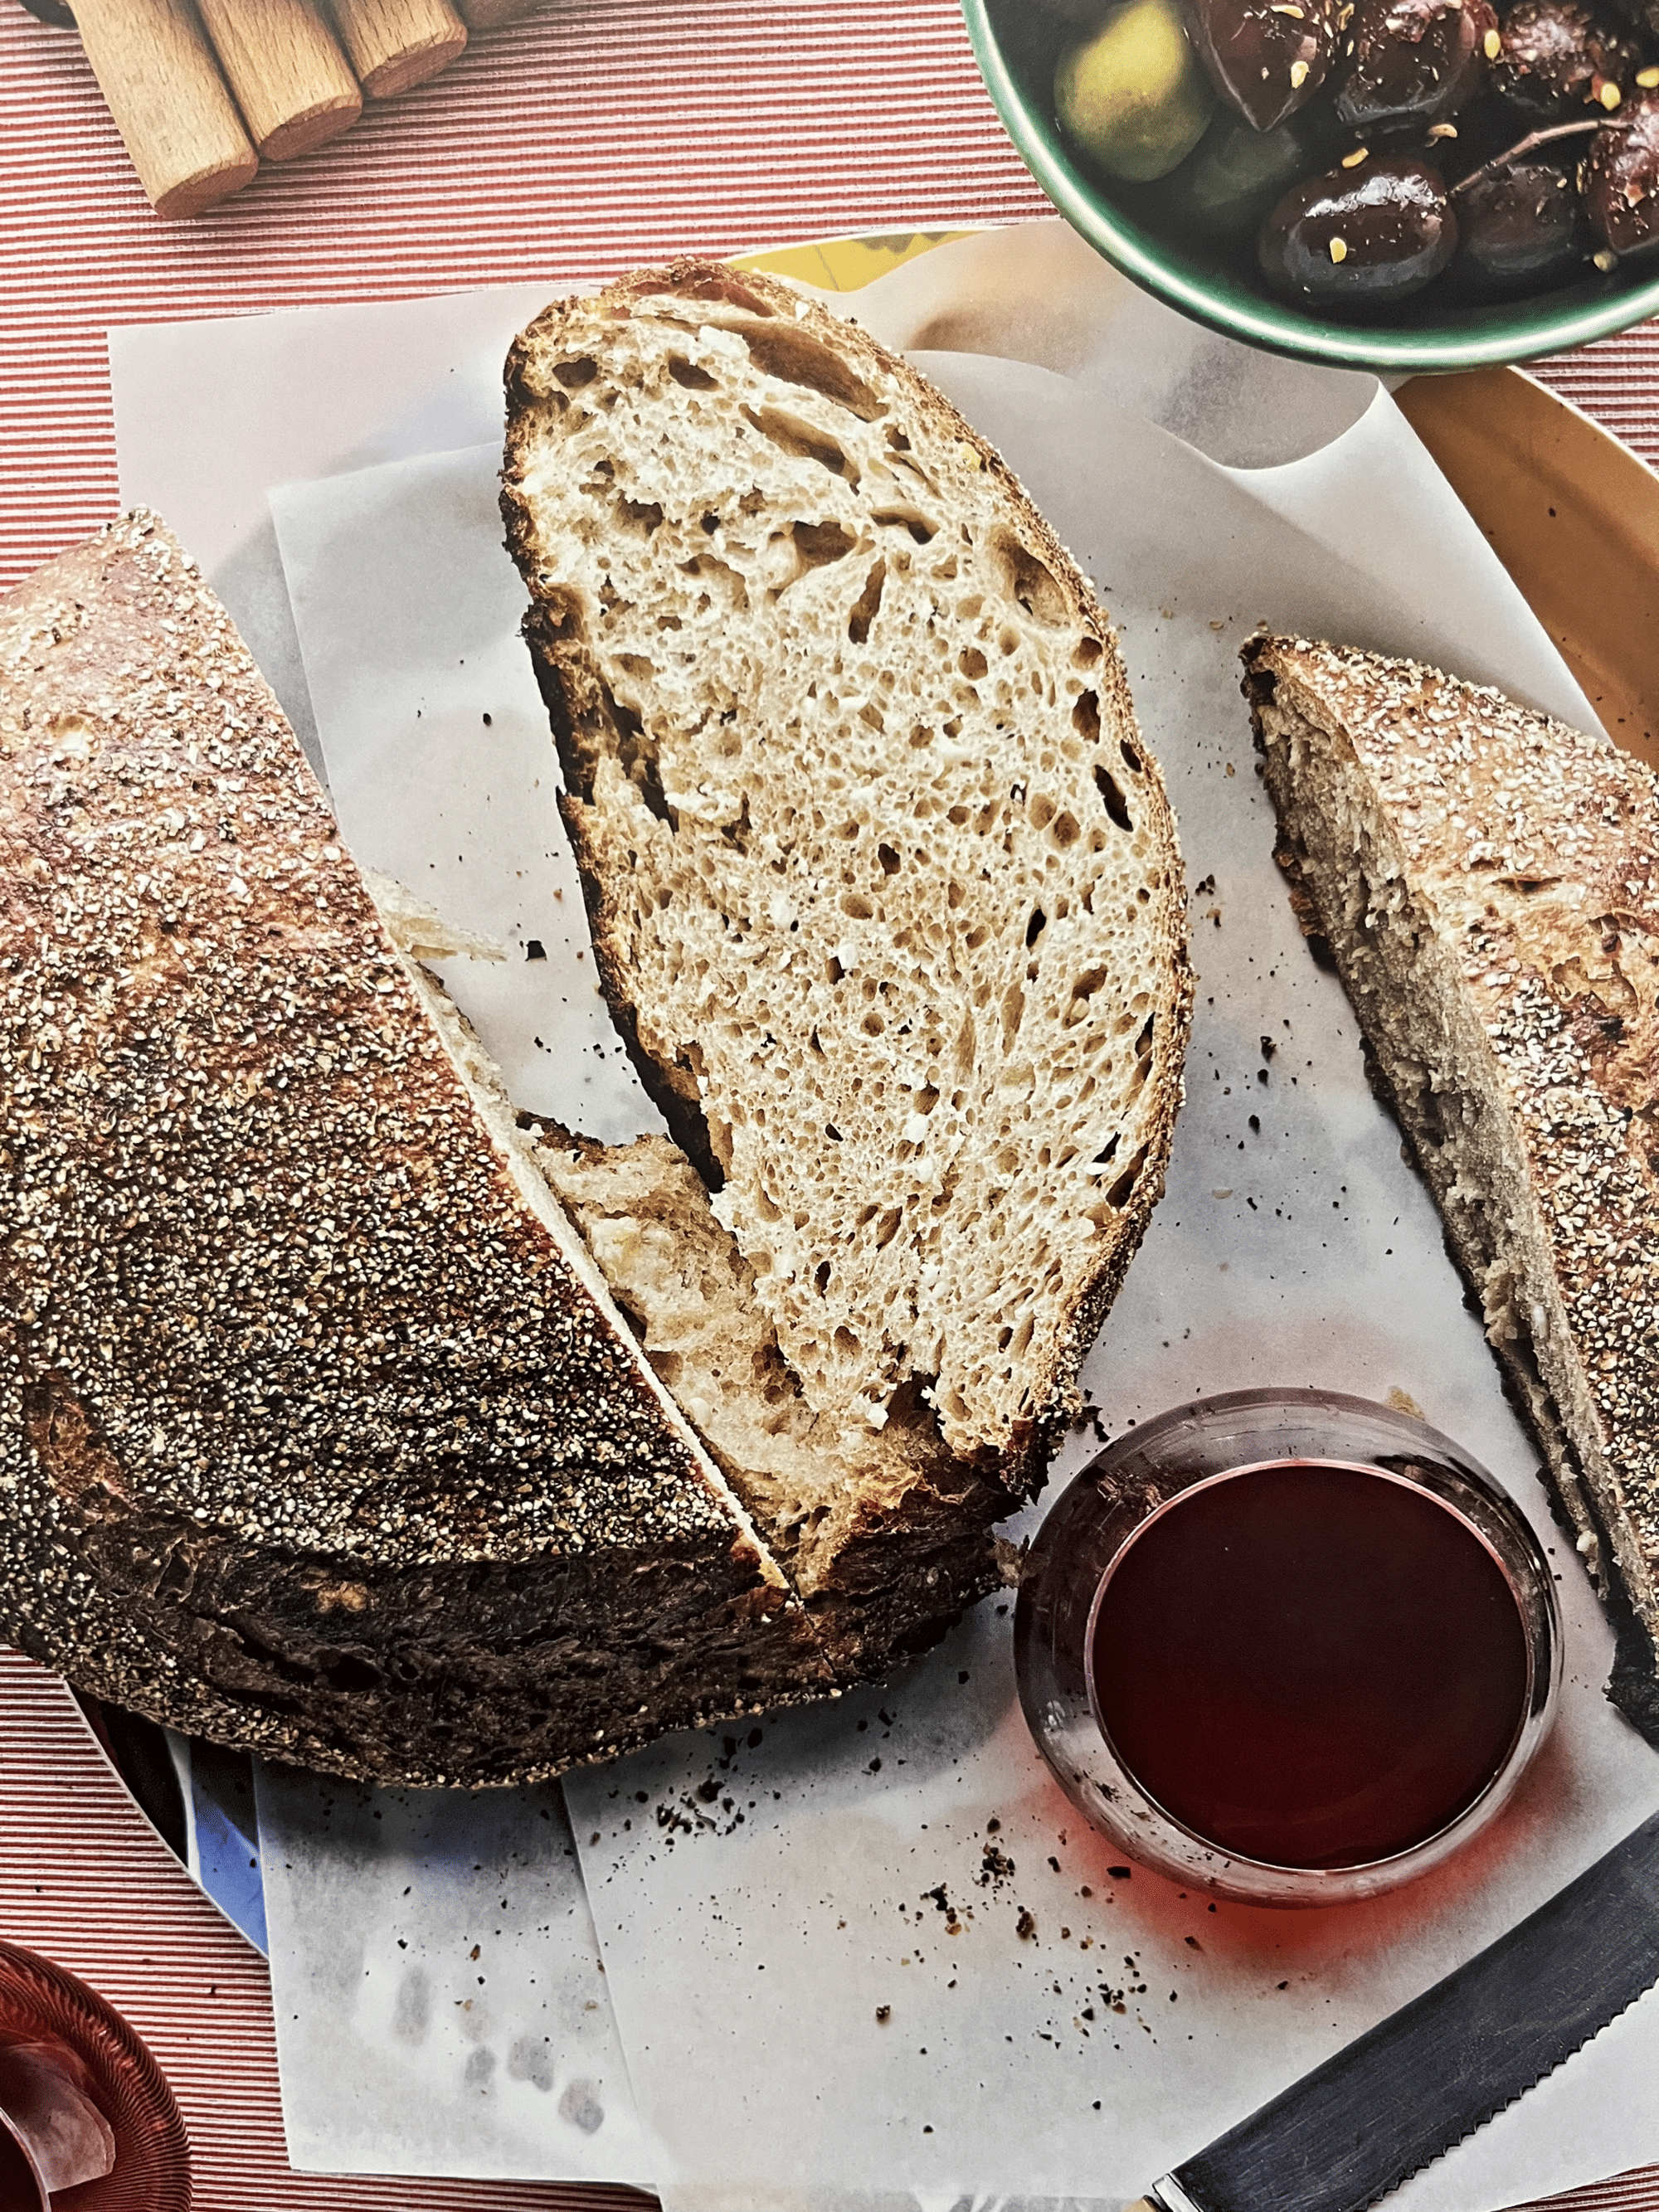
minutesThis recipe by Tara Jensen is an improved version of the difficult grits bread from her book Flour Power. Due to the high ratio of water to flour and the inclusion of a hefty amount of cooked grits, this dough can be trickier to work with, but results in a delicious and rewarding loaf that you’ll certainly want to try.
43 grams Maine Grains White Flint Corn Grits
126 grams water
27 grams sourdough starter
31 grams water
343 grams Maine Grains Sifted All-Purpose Flour
38 grams Maine Grains Whole Wheat Flour
193 grams water (first mix)
154 grams grits (cooked and cooled)
96 grams boosted starter
19 grams water (second mix)
8 grams salt
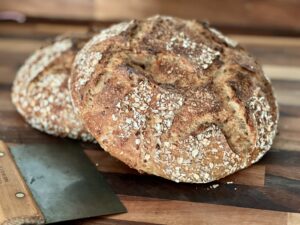
1 handful uncooked grits (for topping the loaf)
Tag @mainegrains on Instagram and hashtag it
Follow us @mainegrains on Pinterest
Follow us on Facebook


